Windows Server 2025 – Part 1 (Preparation)
As an IT Architect, I’m always excited to explore the latest technology. Microsoft has recently released Windows Server 2025 as part of its Insider Program. With the evolving landscape of server and datacenter virtualization, I wanted to revisit Hyper-V in detail. In this post, we'll start with a straightforward, low-cost development environment that allows nearly anyone to set up their lab for testing and learning. Here’s a step-by-step guide to get you started.
Preparing for Windows Server 2025 Installation
1. Register for the Windows Insider Program
Begin by signing up for the Windows Insider Program with your Microsoft Account. I recommend using a personal account rather than a corporate one. This simplifies maintaining your Microsoft training status and other settings throughout your career. Join the Insider Program here.

For those working in a corporate environment and preparing tests for company use, the Windows Insiders for Business portal might be more appropriate.
2. Download Windows Server 2025
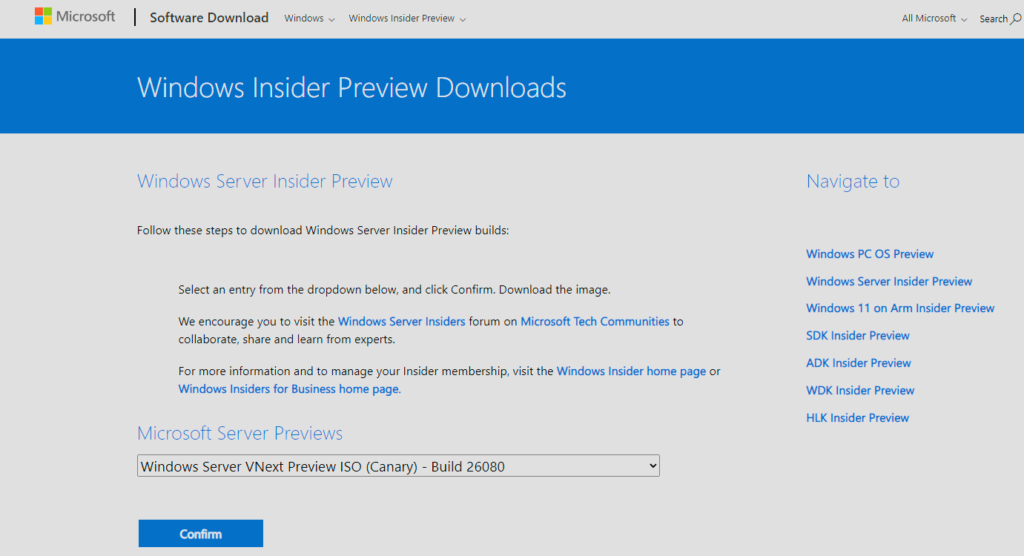
Head to the Windows Server Insider Preview download page to get the preview version of Windows Server 2025.
3. Create a Bootable USB Drive
To install Windows Server 2025, you’ll need to create a bootable USB drive from the ISO file. I recommend using Rufus for this task.
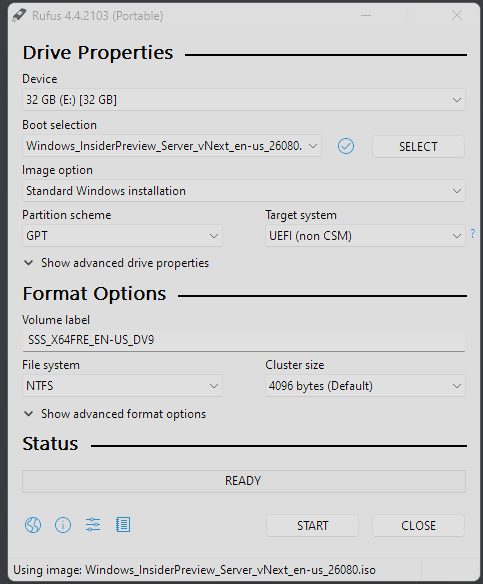
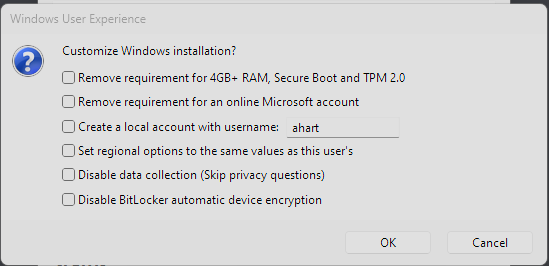
Rufus is a reliable tool I’ve used for years, and while its default settings are optimized for Windows 11, you might need to adjust them to fit your needs, especially if you're bypassing certain requirements or not using online accounts.
4. Start the Installation
Insert the bootable USB drive and start the installation process.
Enter the appropriate product key when prompted:
Server Standard: MFY9F-XBN2F-TYFMP-CCV49-RMYVH
Datacenter: 2KNJJ-33Y9H-2GXGX-KMQWH-G6H67
These keys are legitimate for the Windows Server Insider Preview 26040 and can be found here.
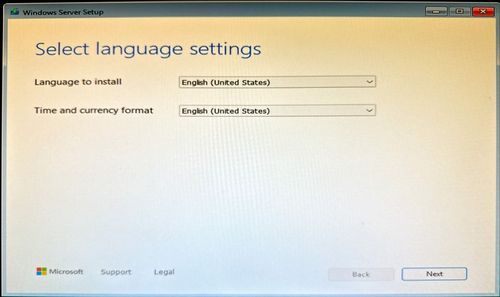 Select Language Settings
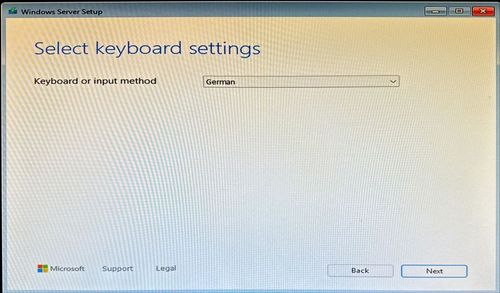 Keyboard Settings
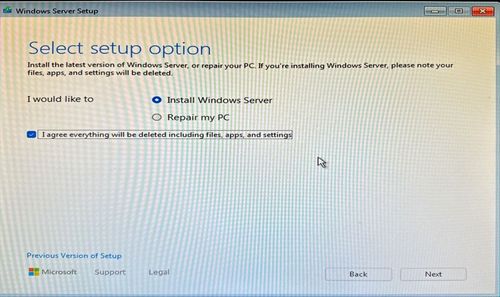 Choose to Install Windows Server
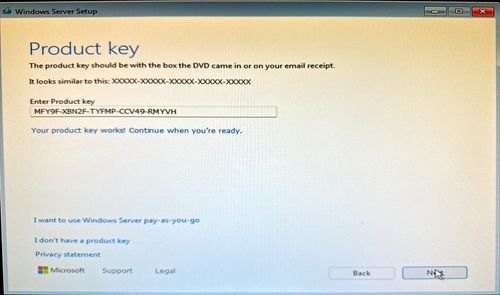 Enter the product key
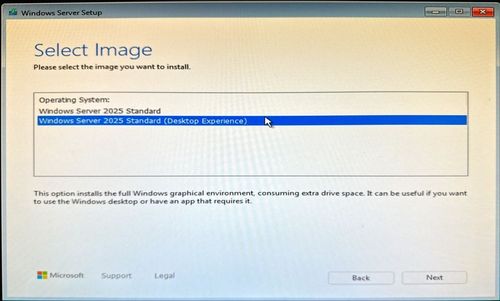 Select Desktop Experience
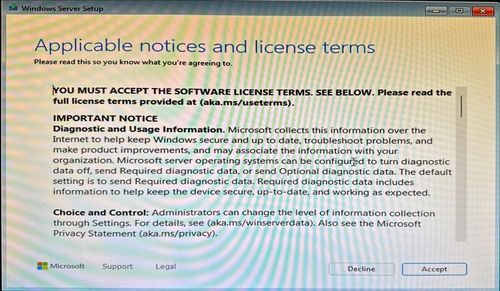 Accept the license terms
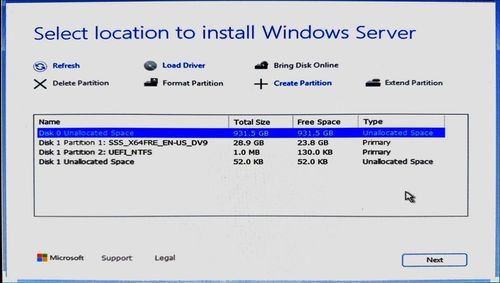 Install Windows Server on the right partition
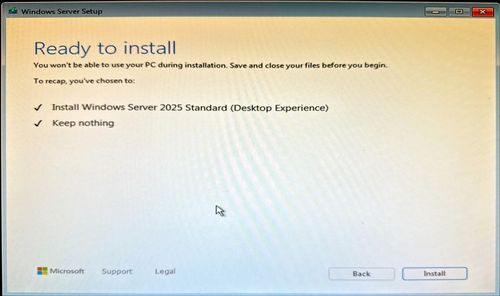
Choose your language and keyboard settings.
Opt to install Windows Server.
Enter the product key.
Select Desktop Experience if you prefer a GUI.
Accept the license terms.
Install Windows Server on the designated partition.
5. Finalize the Installation
Once the installation is complete, you’ll be ready to explore Windows Server 2025. In Part 2 of this guide, we will dive into enabling Hyper-V and setting up virtual machines to test out the new features.
Enjoy setting up your server, and stay tuned for more insights into IT architecture and virtualization!

