Windows Server 2025 – Part 2 (Hyper-V)
In Part 1 of this series, we set up our hardware and installed Windows Server 2025 from an IT Architect’s perspective. Now, we’ll delve into configuring Hyper-V on our newly installed server, which has become increasingly relevant with recent developments in the virtualization market.
This tutorial will guide you through setting up Hyper-V on Windows Server 2025 and configuring four virtual machines: three running Windows Server 2025 and one running a Linux distribution. Here’s what we aim to accomplish:
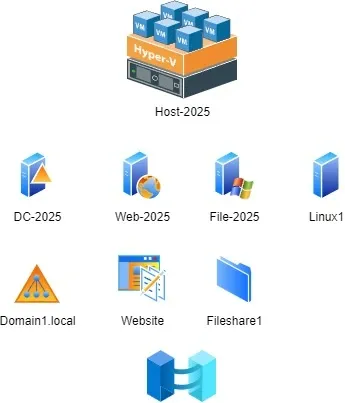 Windows 2025 Test Setup
Goals for Windows Server 2025 and Hyper-V
Configure the Hyper-V Role: Set up the Hyper-V role on Windows Server 2025.
Create Virtual Machines: Set up three Windows Server 2025 VMs and one Linux VM.
Install Windows VMs: Complete the installation of Windows on the VMs.
Download and Install Linux: Get Linux up and running on the VM.
1. Setting Up the Hyper-V RoleEnable Hyper-V on Windows Server 2025
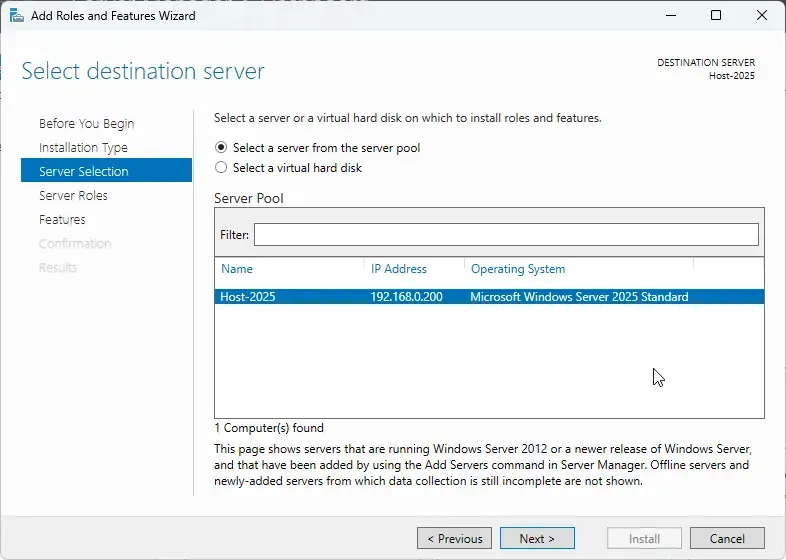
Open Server Manager on your Windows Server 2025.
Select Manage and then Add Roles and Features.
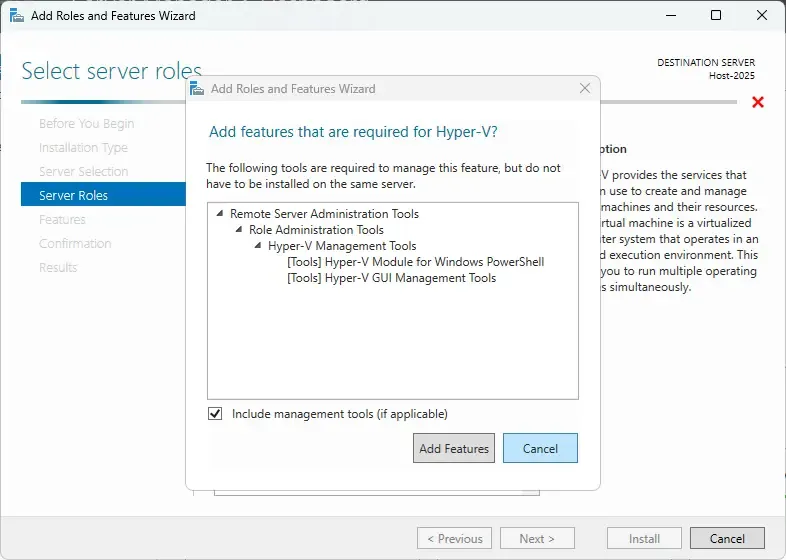
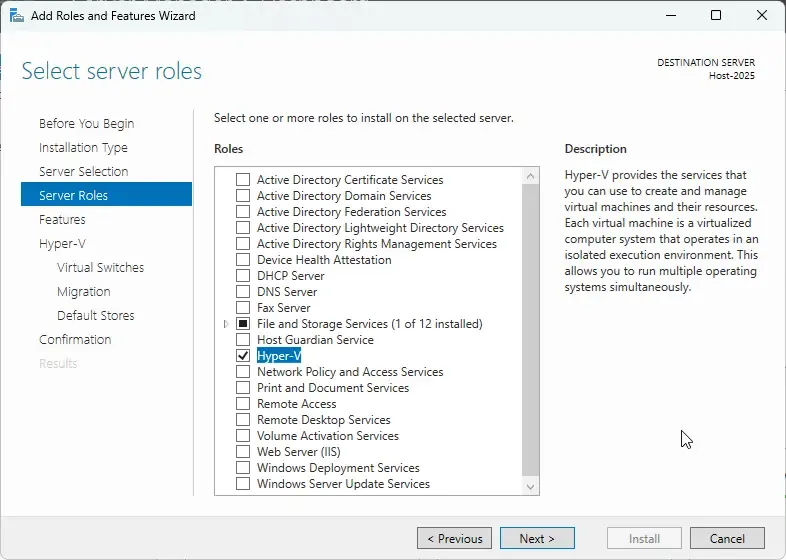
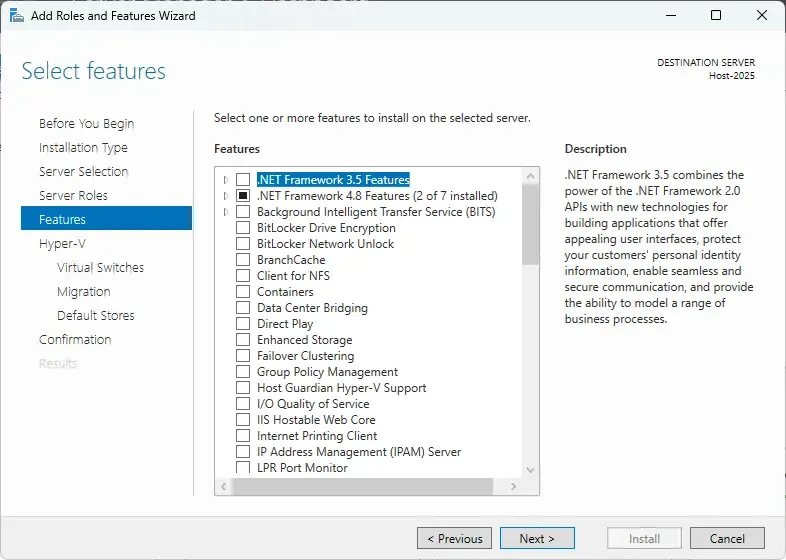
In the wizard, check the box for the Hyper-V role.
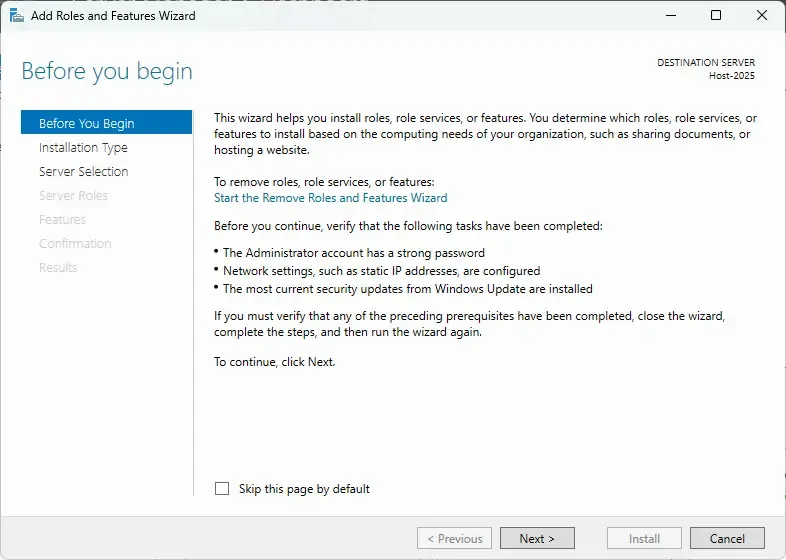 Server 2025 Add Role Hyper V 00
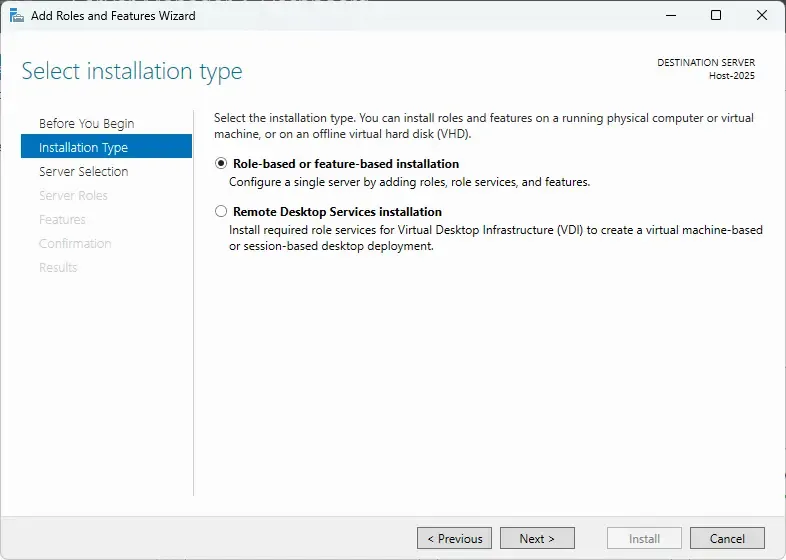 Server 2025 Add Role Hyper V 01
 Server 2025 Add Role Hyper V 02
 Server 2025 Add Role Hyper V 03
Server 2025 Add Role Hyper V 04
 Server 2025 Add Role Hyper V 05
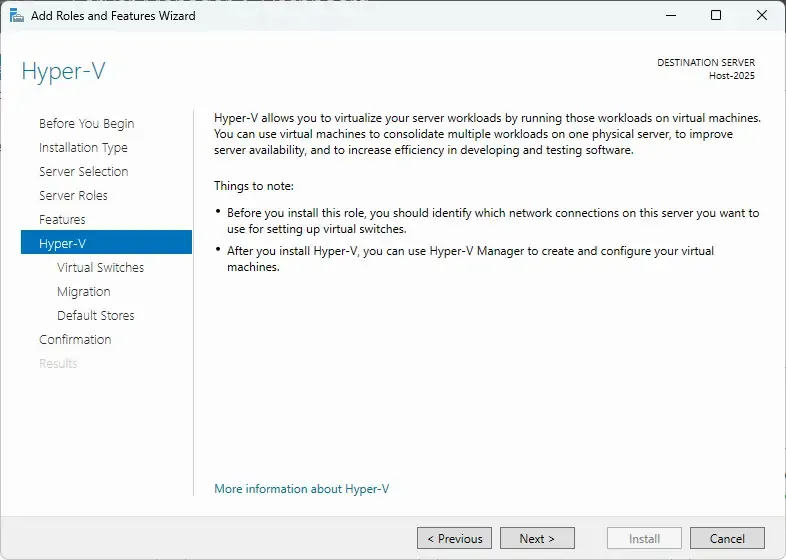 Server 2025 Add Role Hyper V 06
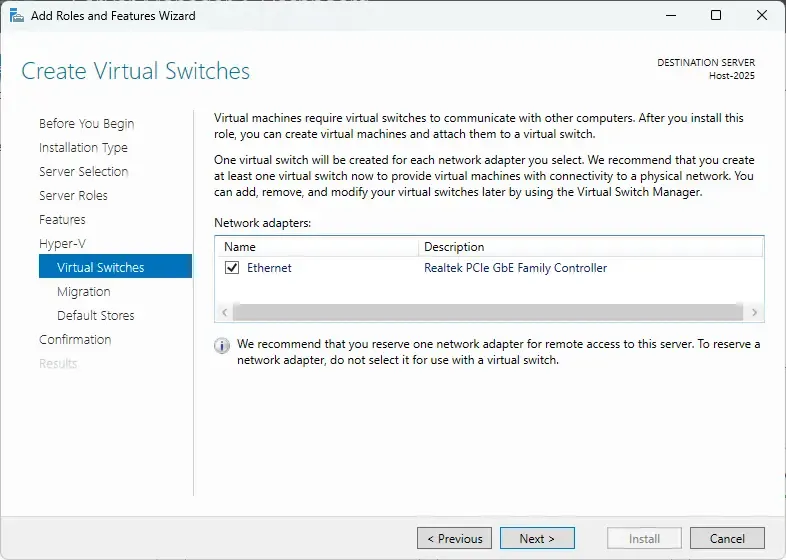 Server 2025 Add Role Hyper V 07
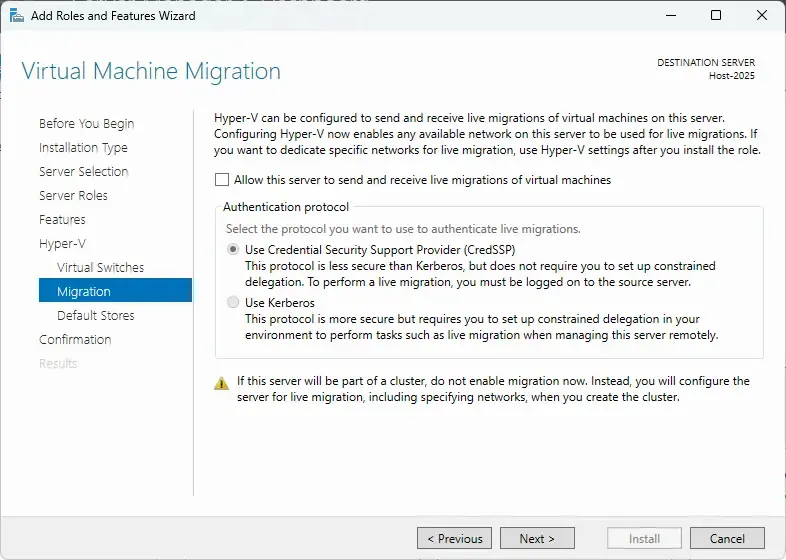 Server 2025 Add Role Hyper V 08
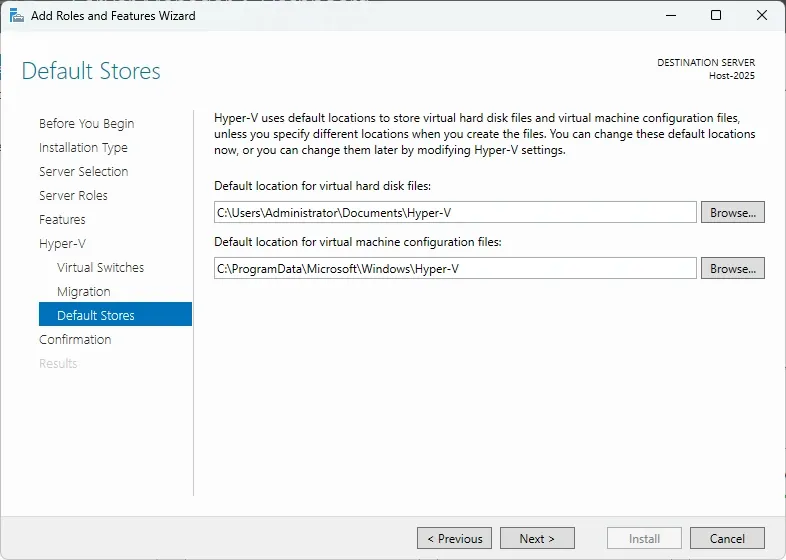 Server 2025 Add Role Hyper V 09
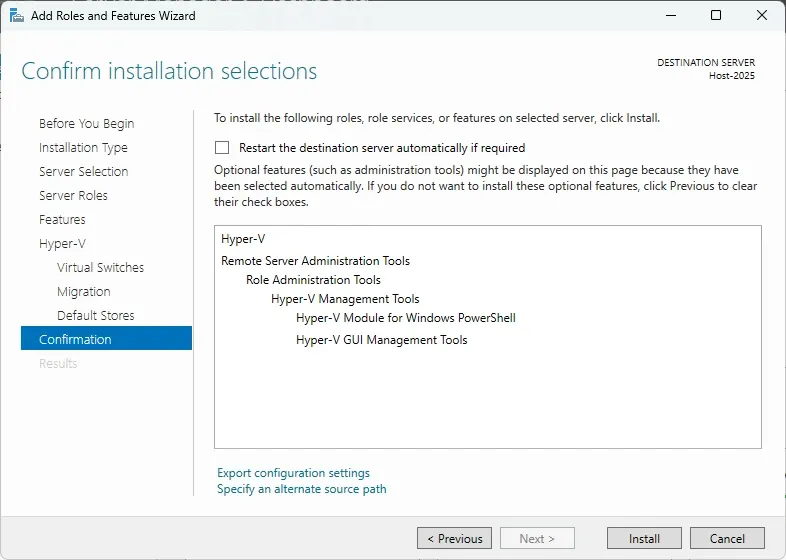 Server 2025 Add Role Hyper V 10
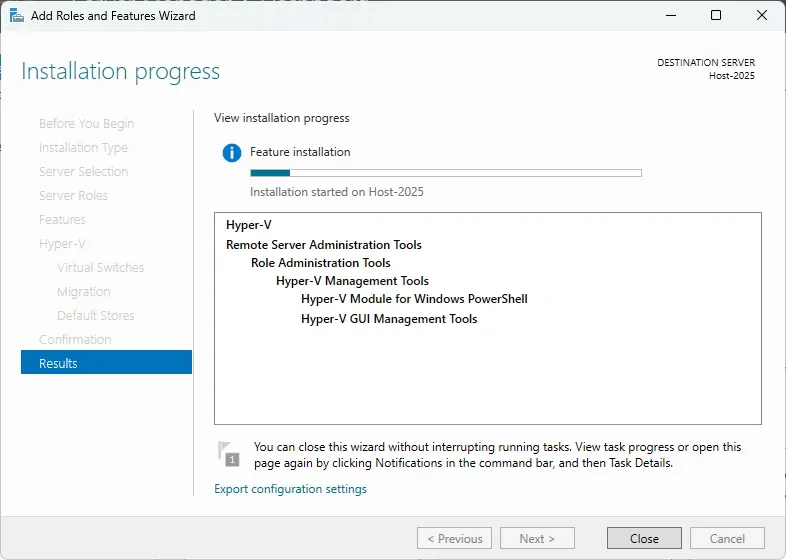 Server 2025 Add Role Hyper V 11
Note: If you encounter issues, ensure that virtualization is enabled in your computer’s BIOS settings.
Access Hyper-V Manager
After installation, go to the Start Menu, search for Hyper-V, and open the Hyper-V Manager console.
Alternatively, open Server Manager and find Hyper-V Manager under the Tools menu.
On the right-hand Actions Pane, select Virtual Switch Manager. Use the default switch (e.g., “Realtek PCIe GbE Family Controller”).
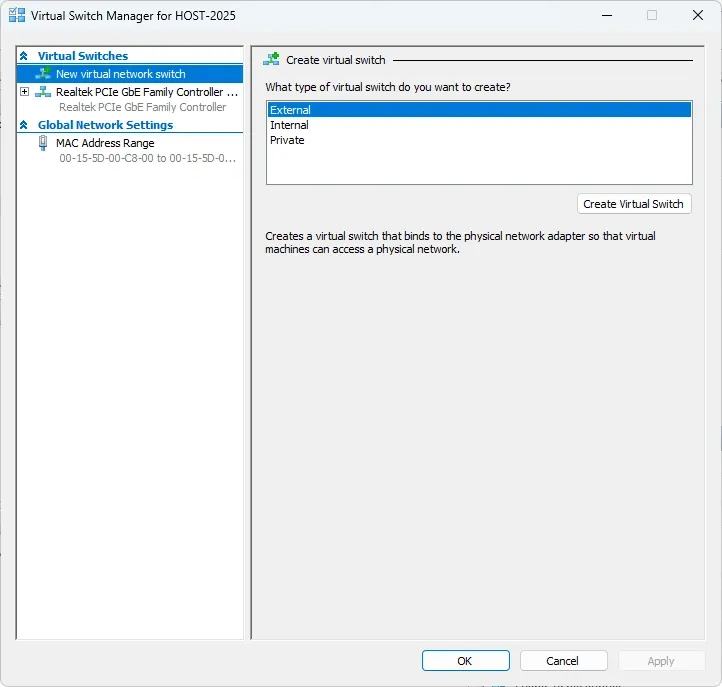 Click on Apply to create it.
Important: In a production environment, coordinate with your IT Security and Network team to configure VLAN IDs as per your network security plan.
Upload ISO Files
Create a folder named ISO in the default location for virtual hard disks in Hyper-V.
Copy the ISO files for Windows Server 2025 into this folder. Also, add your preferred Linux distribution ISO here. I recommend Ubuntu 22.04 server, but you can choose any supported OS for Azure ARC.
2. Creating Windows and Linux Virtual Machines
Set Up Windows VMs
In Hyper-V Manager, go to the Actions Pane and click on New > Virtual Machine. Follow the wizard and apply the appropriate settings for each VM.
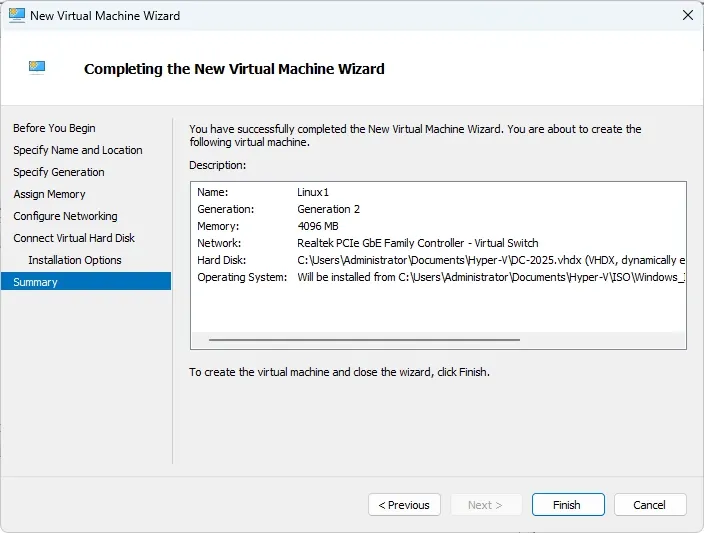 Create VM Linux1 1
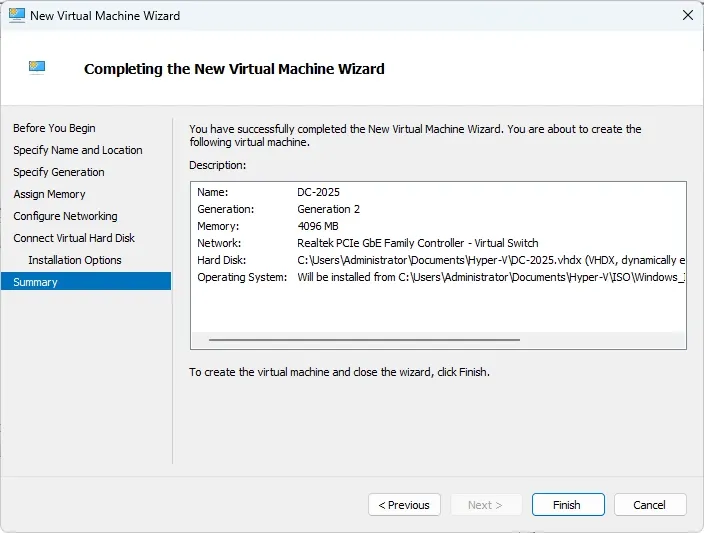 Create VM DC 2025 1
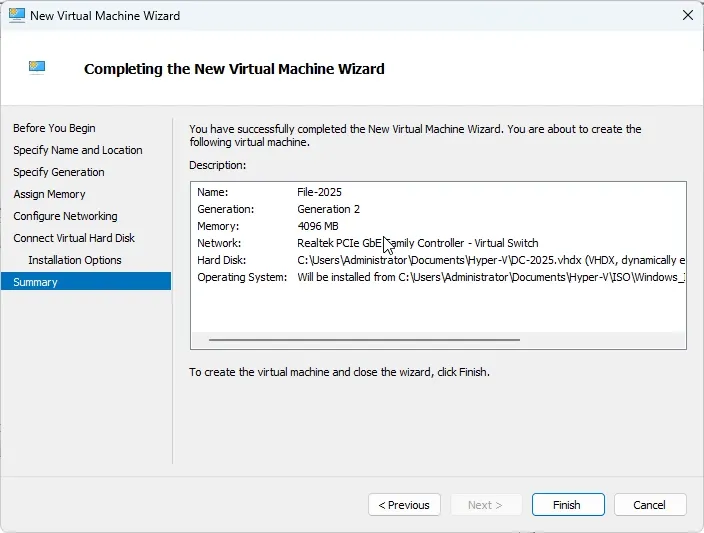 Create VM File 2025 1
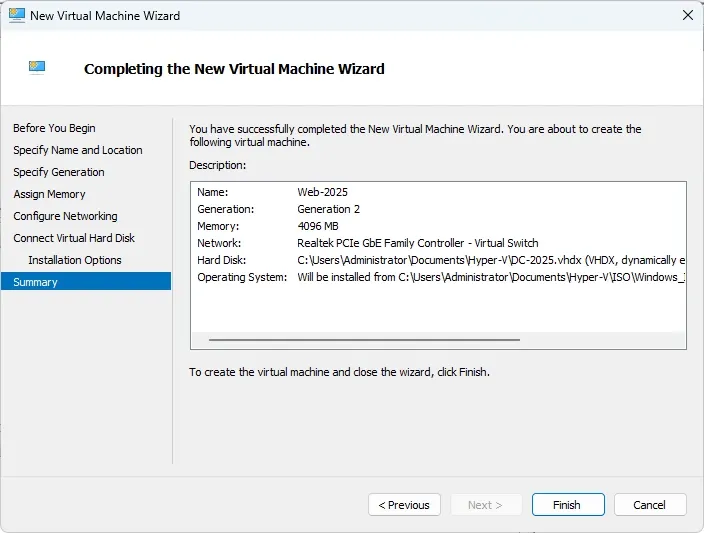 Create VM Web 2025 1
3. Install Windows VMs
Install Windows on each VM. During installation, choose the Desktop Experience option and use the license keys provided in the original setup instructions.
 Windows Server 2025 Install 01
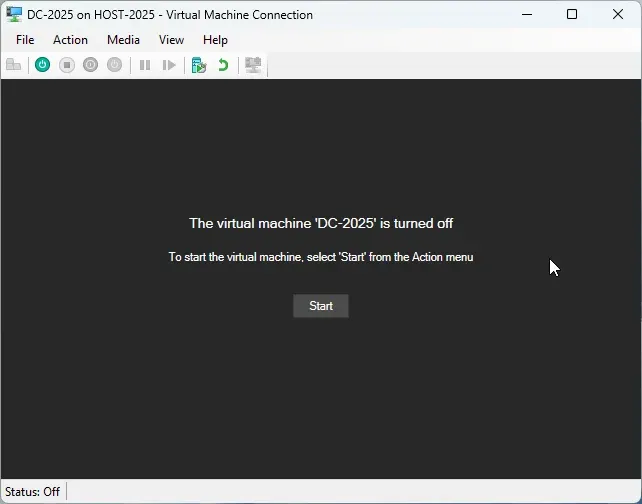 Windows Server 2025 Install 02
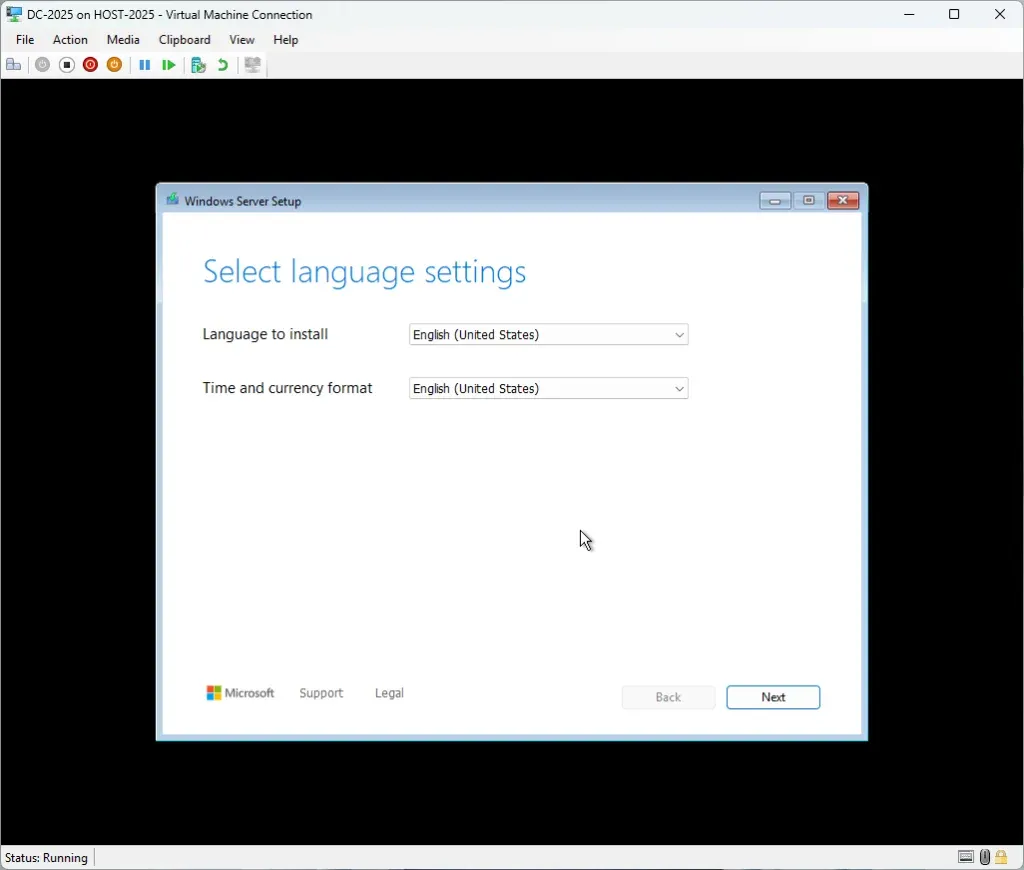 Windows Server 2025 Install 03
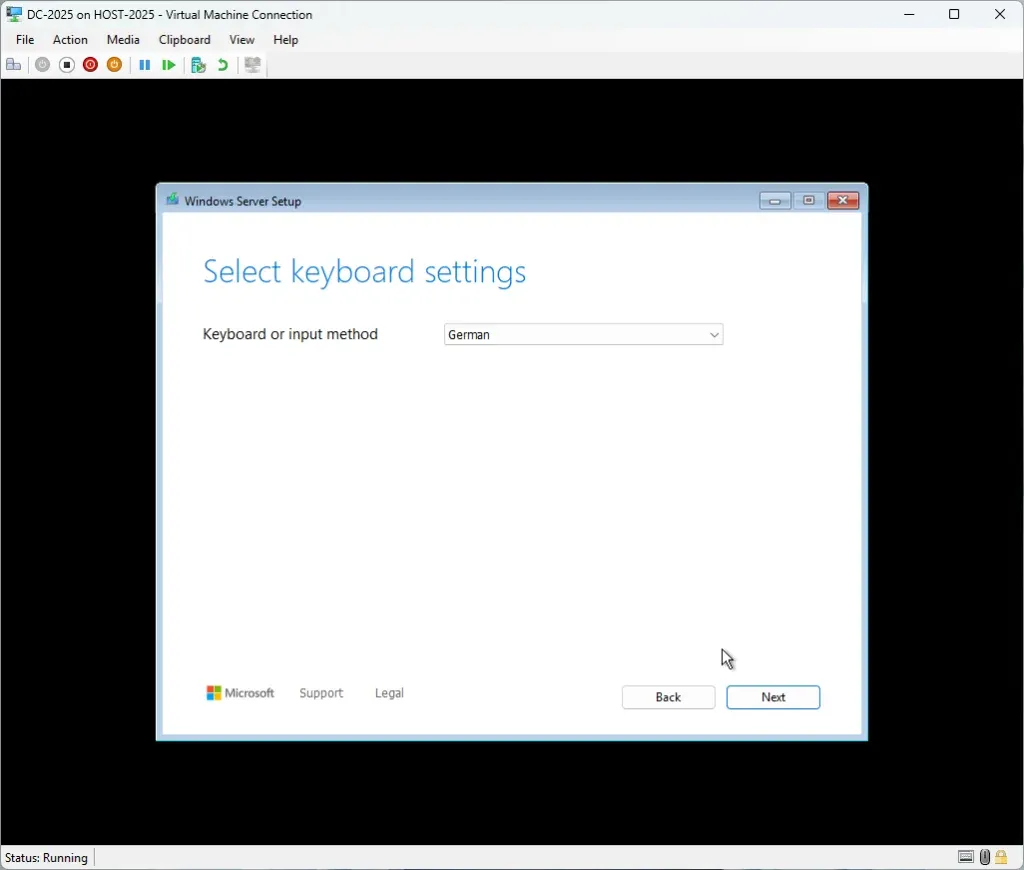 Windows Server 2025 Install 04
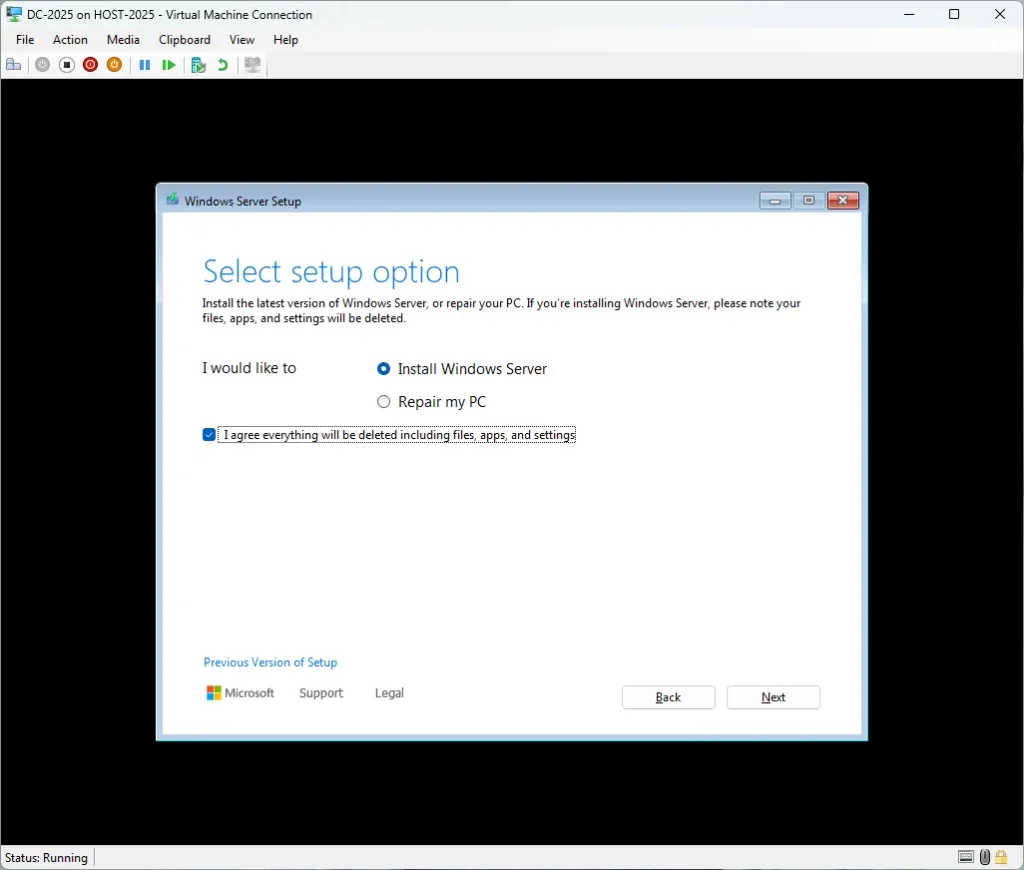 Windows Server 2025 Install 05
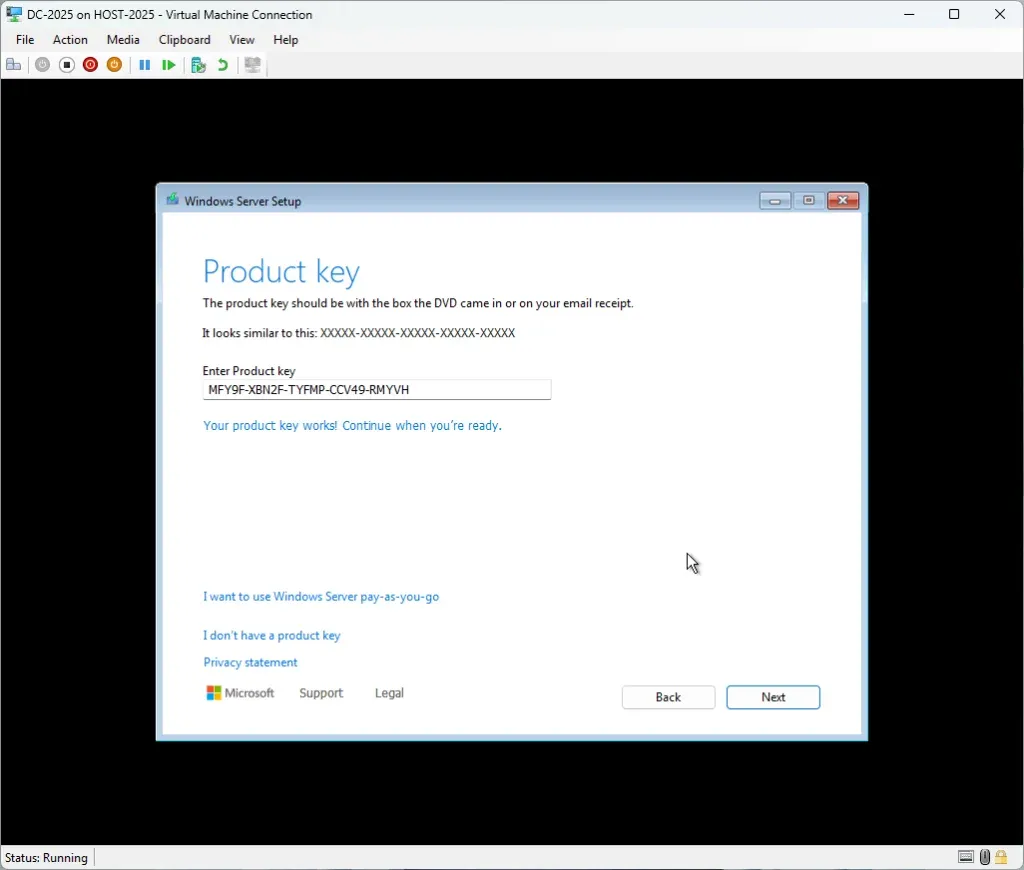 Windows Server 2025 Install 06
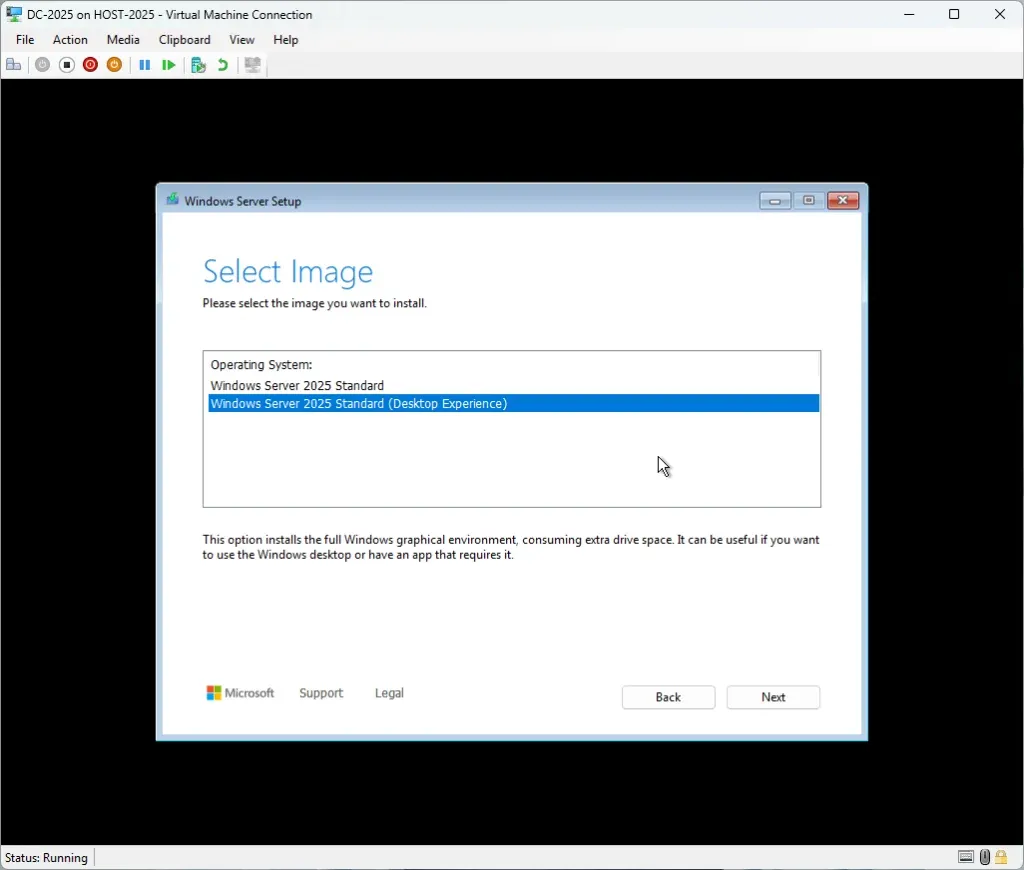 Windows Server 2025 Install 07
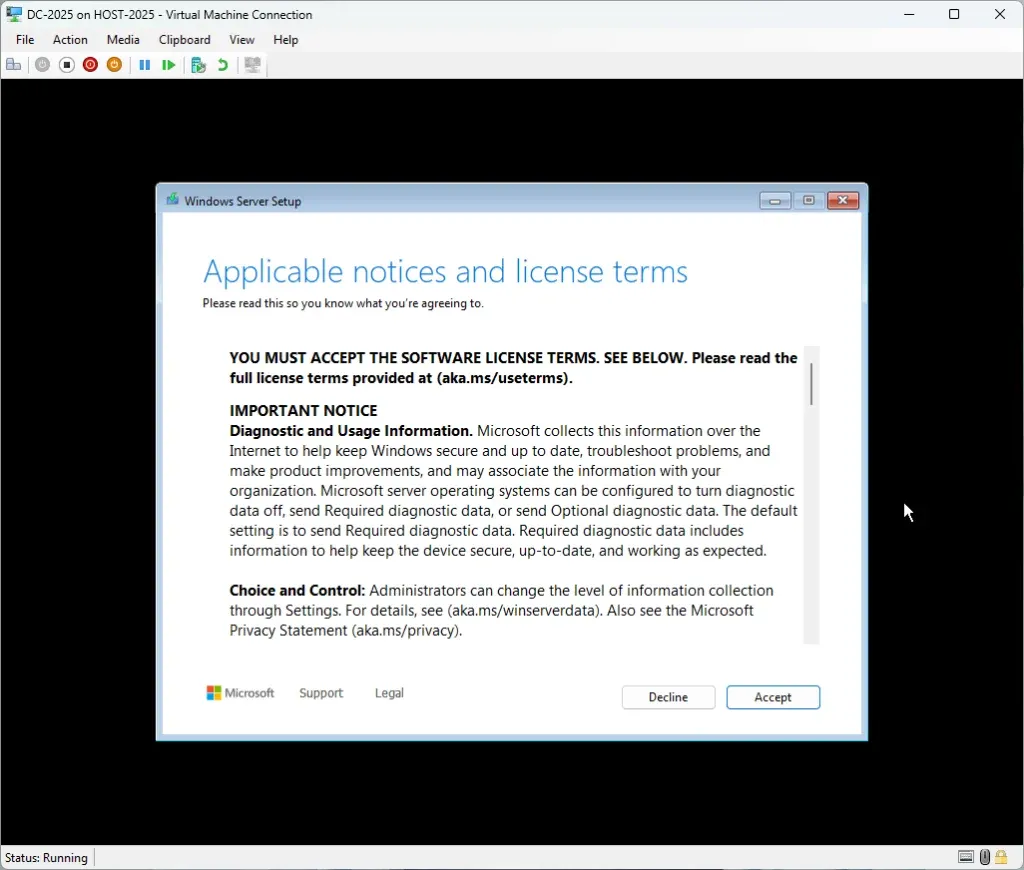 Windows Server 2025 Install 08
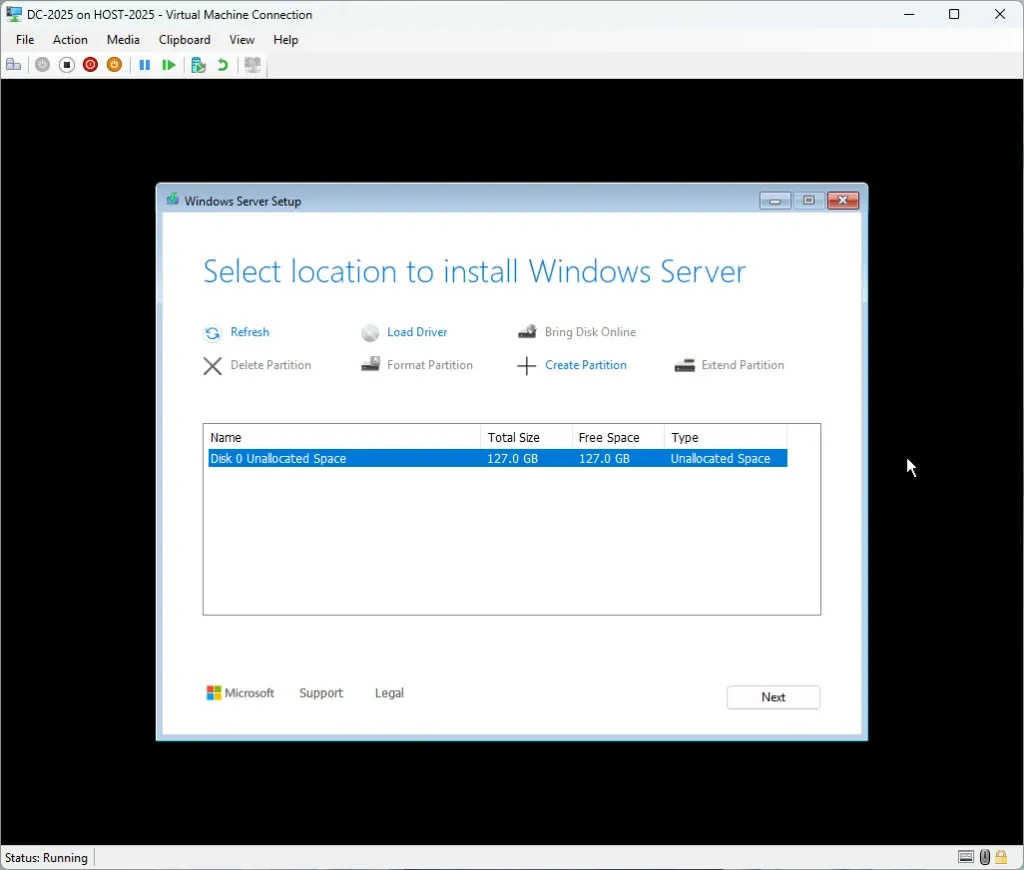 Windows Server 2025 Install 09
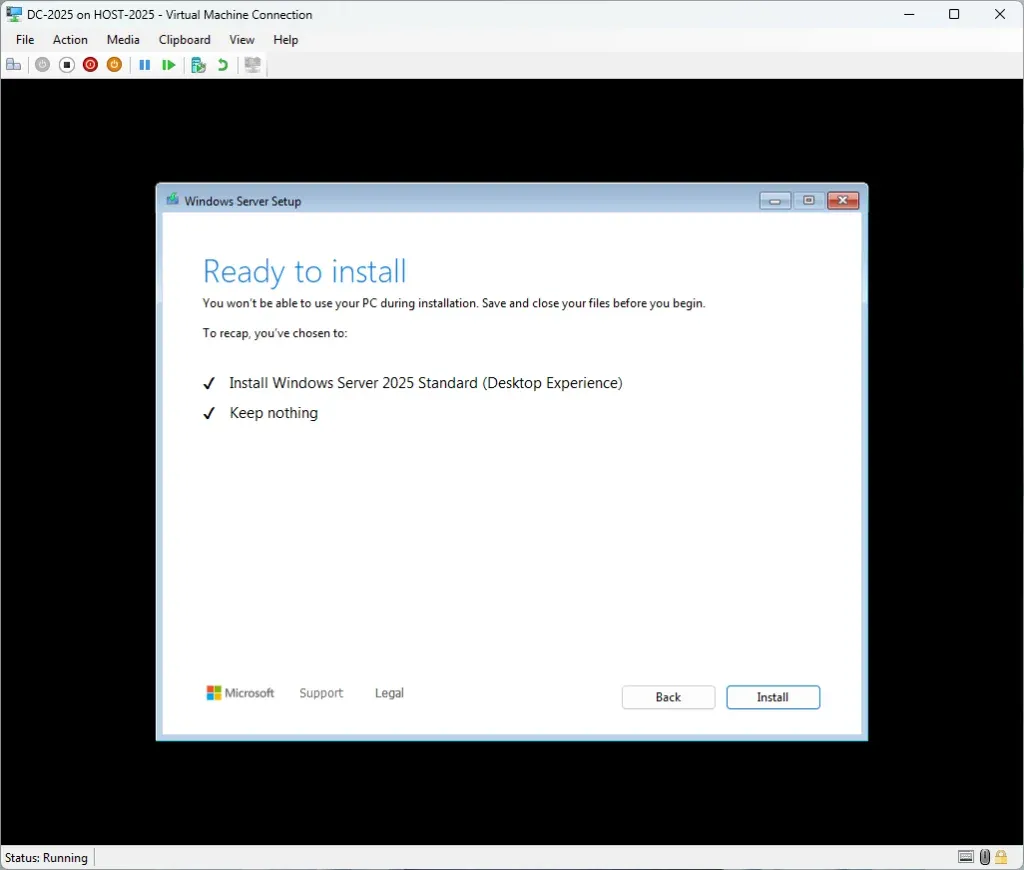 Windows Server 2025 Install 10
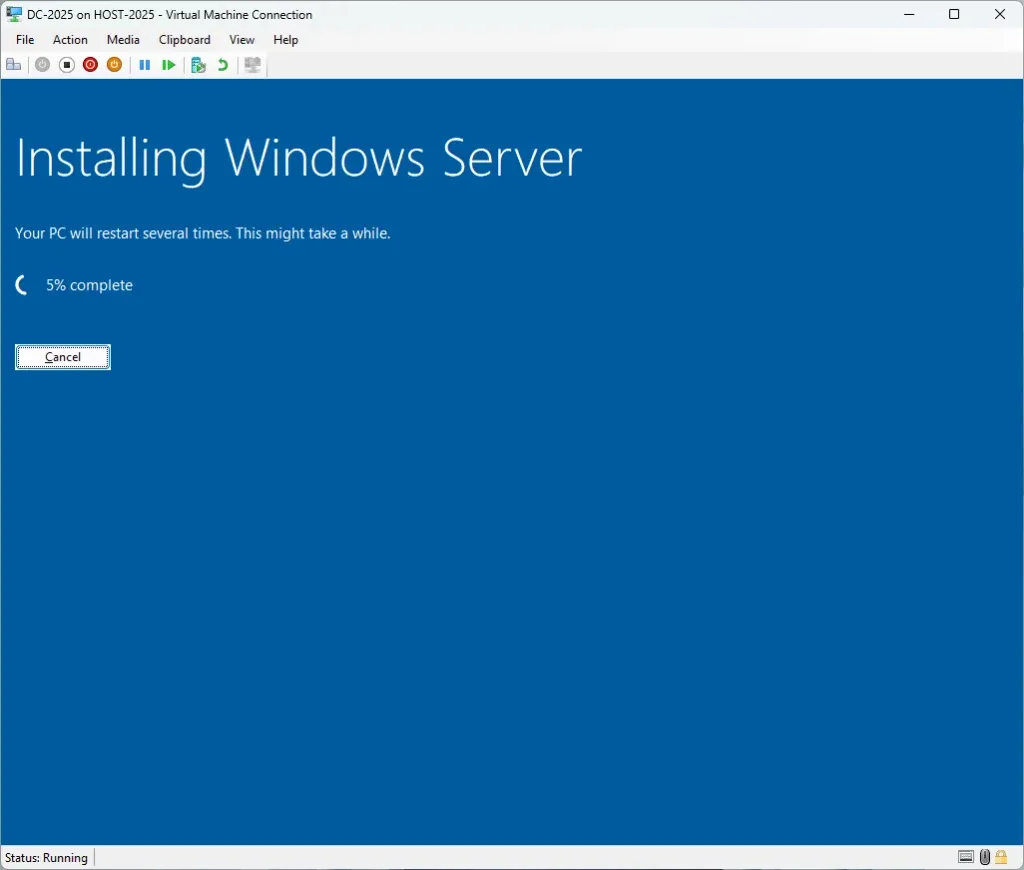 Windows Server 2025 Install 11
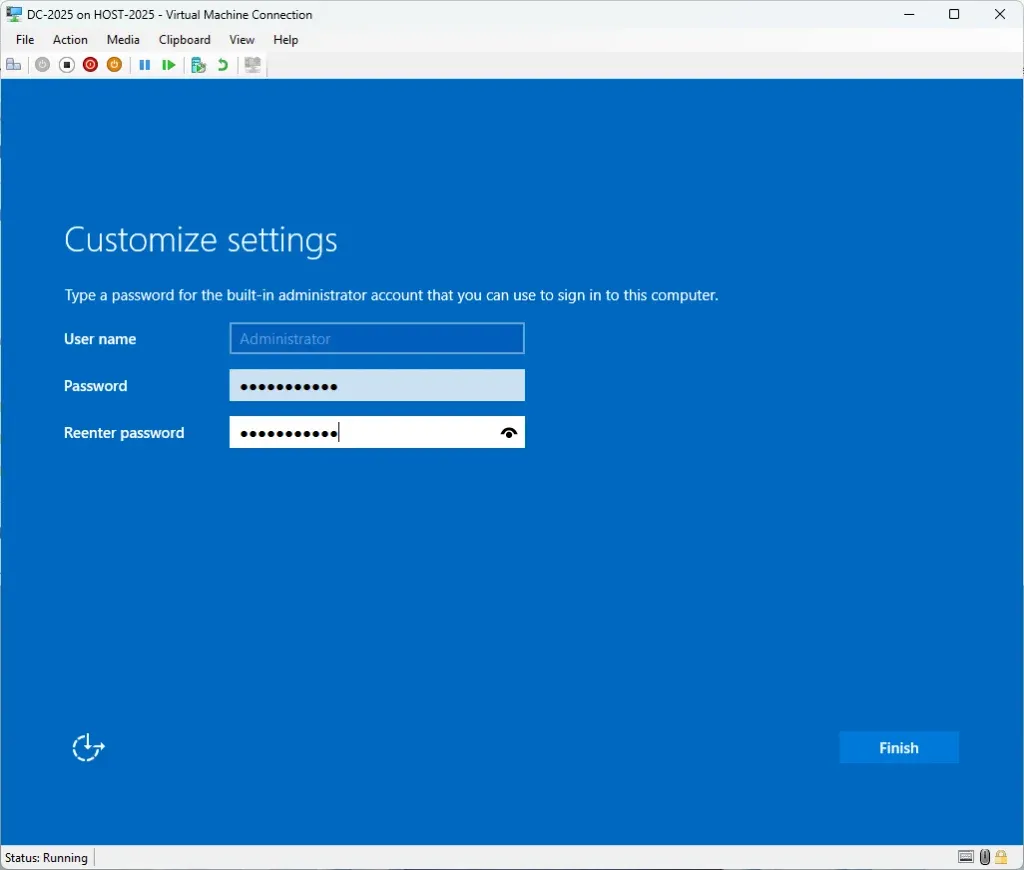 Windows Server 2025 Install 12
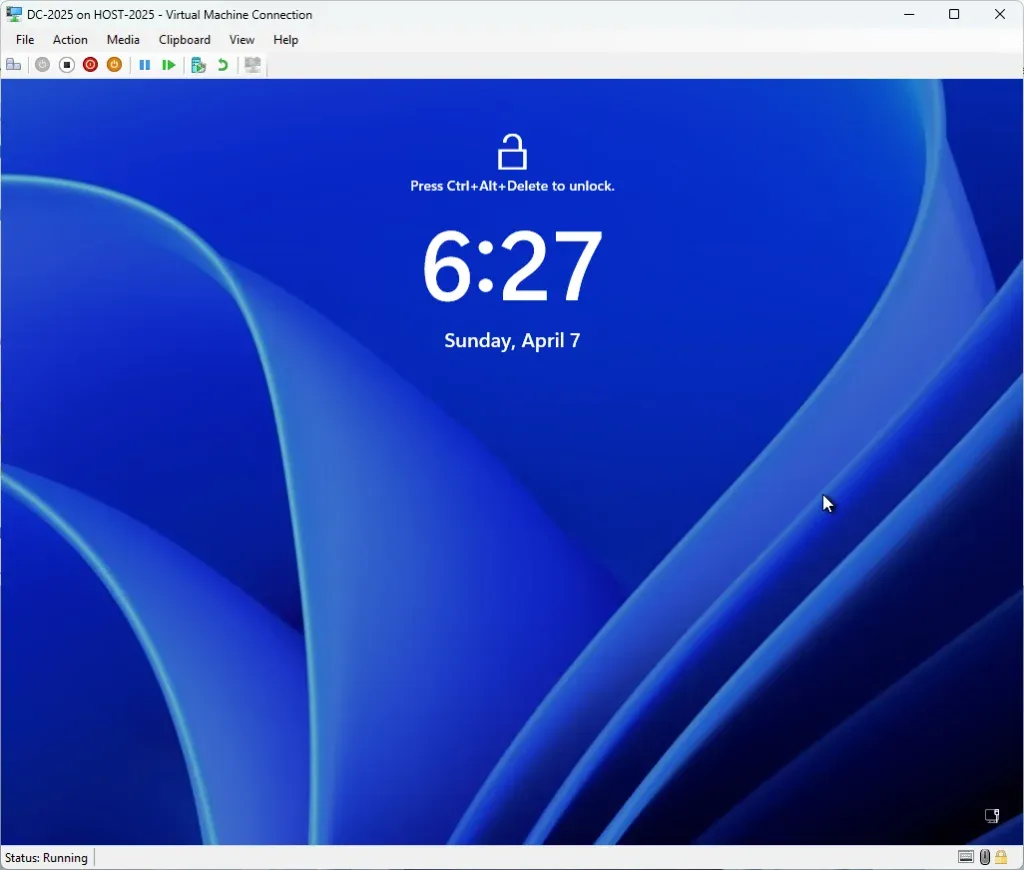 Windows Server 2025 Install 13
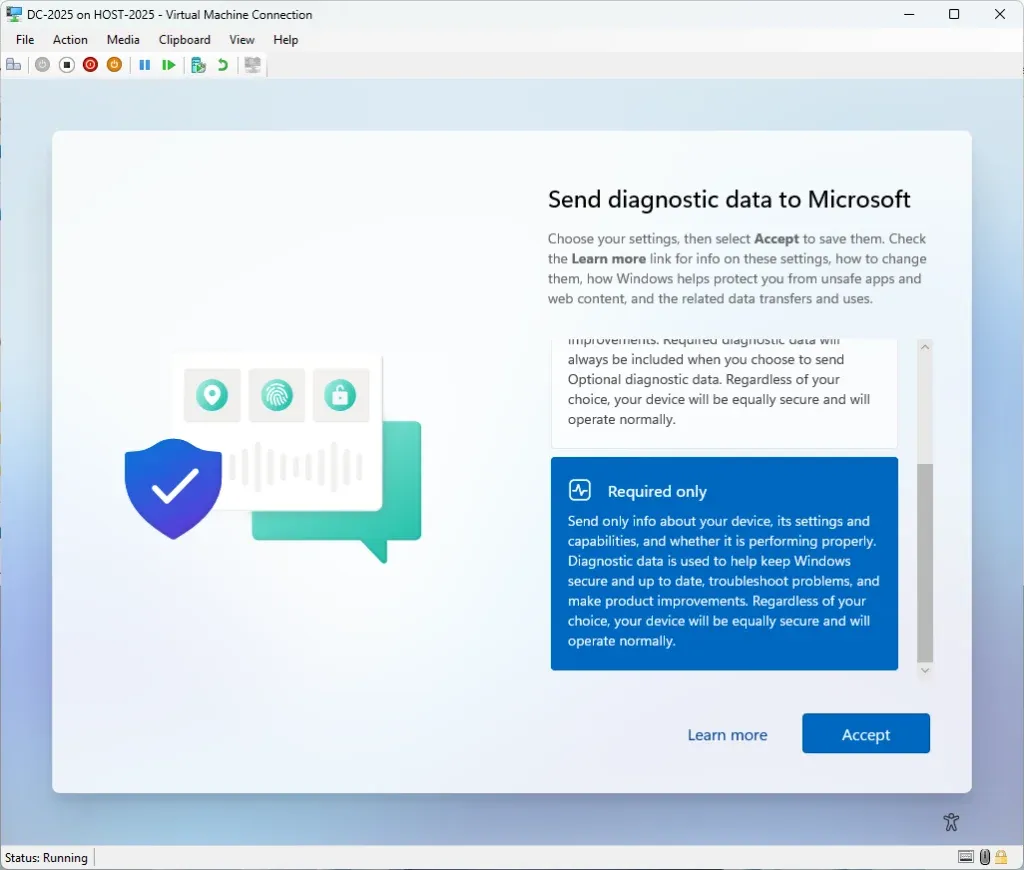 Windows Server 2025 Install 14
Note: The installation of the three Windows VMs may take some time. If using a network with DHCP, such as a Ubiquiti Unifi Network, you might need to configure static IP addresses. You can do this by opening the Windows Start Menu and typing “ncpa.cpl” to access network settings.
4. Install Linux:
This guide won’t cover Linux installation in detail, as there are numerous comprehensive resources available. I recommend starting with the Microsoft guide or the Ubuntu installation guide for help.
Final Steps
Patch Your Systems: Ensure all your VMs are updated with the latest patches and updates to maintain security and functionality.
By following these steps, you’ll have a functional Hyper-V environment with both
Windows and Linux virtual machines ready for testing and evaluation.

